Lighting and Fans
Under-cabinet and kitchen lighting installed in Grand Rapids homes
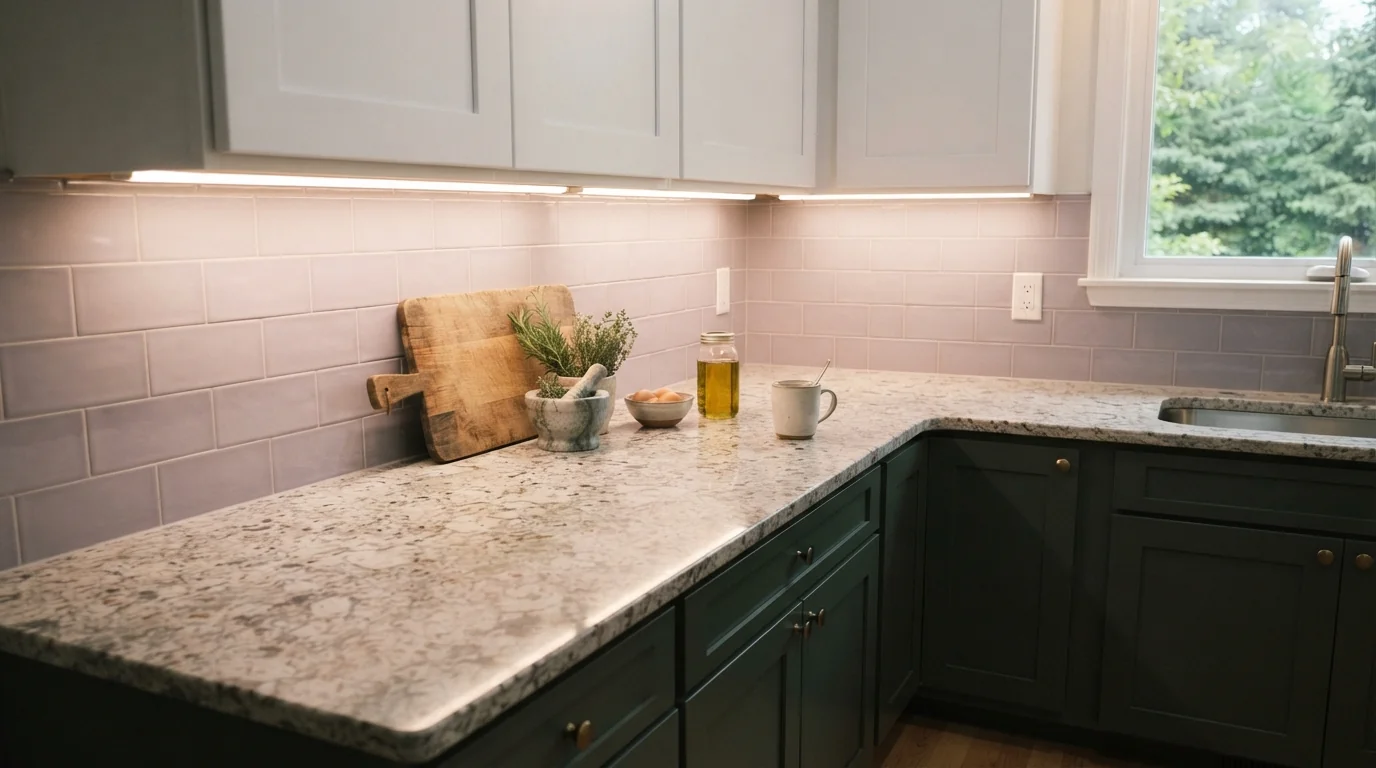
Ceiling lights put your head in your own light at the counter. Hardwired under-cabinet lighting fixes that, and pendants and toe-kick lights finish the room. We plan the runs so the wiring disappears, put everything on dimmers that suit LEDs, and keep the switches where you expect them.
Updated September 2026
- Answered 24/7
- Hardwired, no visible cords
- LED-rated dimmers
- Works with remodels or finished kitchens
Quick answer
Under-cabinet and kitchen lighting in Grand Rapids usually means hardwired LED strips or puck lights under the upper cabinets, fed from a switched circuit with the driver hidden in a cabinet, plus island pendants and optional toe-kick lights. It can be fitted into a finished kitchen, though it is easiest during a remodel.
What this job is
Task light where you work, accent light where you look
Under-cabinet strips light the counter evenly from the front edge of the cabinet, which is where you chop, read recipes and make coffee. Pucks give pools of light, which look good but leave gaps. Pendants over an island need boxes centered where the island actually sits. We plan all of it together so it is switched sensibly and every fixture dims smoothly on the same kind of LED-rated control.
Cost factors
What moves the price on this job
Fixture count, driver location and wiring access drive the price.
Typical regional electrician labor runs $75 to $150 per hour, as a planning figure rather than our price.
- 01
Linear feet of strip
Longer runs need more strip and drivers.
- 02
Number of pendants
Each pendant needs a box and support.
- 03
Power source
An existing circuit costs less than a new one.
- 04
Cabinet access
Finished cabinets take more care than open ones.
- 05
Wall material
Plaster and tile slow the wiring.
- 06
Controls
Dimmers and smart switches add cost.
- 07
Fixture quality
Higher color accuracy strips cost more.
What is included
What a kitchen lighting install covers
- Layout of strips, pucks, pendants and toe-kick lights
- Switched circuit and a location for each switch
- Hidden driver or transformer inside a cabinet
- Wire routed behind or through the cabinets
- Pendant boxes centered over the island
- LED-rated dimmers or smart switches
- Color temperature matched across fixtures
- Minimal wall openings, patched where needed
- Every fixture tested and dimmed before we leave
Choosing between them
Which under-cabinet light to choose
| Type | Best for | Trade-off |
|---|---|---|
| Continuous LED strip | Even task light along the counter | Needs a driver and planned runs |
| Puck lights | Accent and display cabinets | Pools of light with gaps between |
| Toe-kick lighting | Night light and a floating look | Mostly decorative |
| Island pendants | Task light over an island | Box placement must match the island |
The versions of this job
Hardwired LED strips
Hardwired strips mount under the front edge of the upper cabinets, where they throw light across the whole counter without shadowing your hands. A driver converts house power to the low voltage the strips use, and it hides in a cabinet or above it. We run the switched feed from an existing circuit or a new one, route the low-voltage wiring behind the cabinet face, and use channel with a diffuser so the individual LEDs do not show on a glossy counter.
Puck lighting
Puck lights are small round fixtures mounted under cabinets or inside glass-front cabinets. They give warm pools of light that suit display shelves and coffee corners more than prep areas, where their gaps can leave the counter uneven. We space them to avoid dark spots between pucks, wire them to a single driver, and put them on the same dimmer family as the rest of the kitchen so they all dim together without flicker, and match their color temperature to the strips elsewhere.
Toe-kick lighting
Toe-kick lights sit in the recess at the base of the cabinets and cast a soft glow along the floor. They make an easy night light for a midnight glass of water and make the cabinets appear to float. They are usually low-voltage strips on their own switch or a motion sensor, and they are easiest to add during a remodel, before the toe-kick panels are fitted, though finished kitchens can often be done with a little care and a removable panel.
Kitchen island pendants
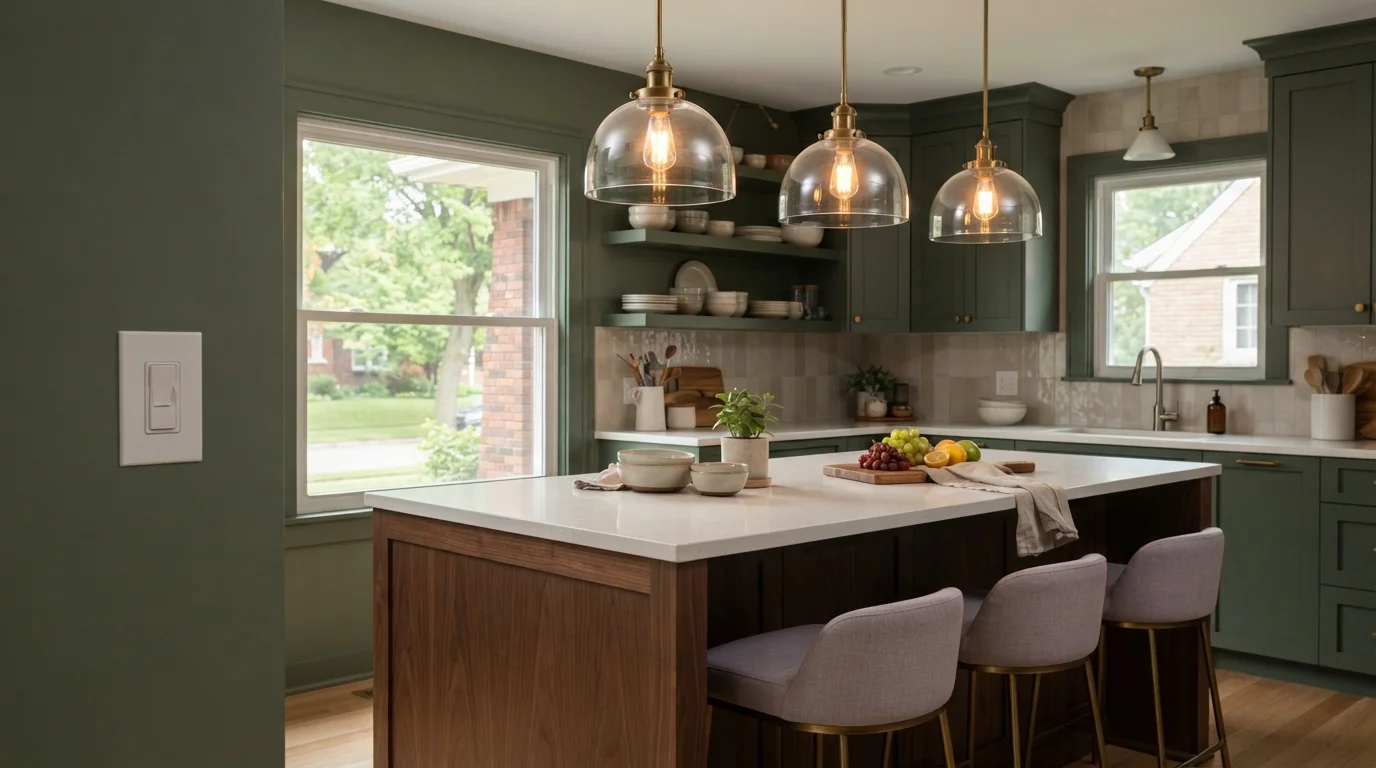
Pendants over an island need their ceiling boxes centered on the island, not the old ceiling light, and hung at a height that lights the surface without blocking views across the room. We measure the island, set the boxes on the right spacing, support them for the fixture weight, and put the pendants on their own dimmer. When the kitchen is being remodeled, this is planned with the rest of the remodel wiring, so the boxes go in while the ceiling is open.
Local conditions
How Grand Rapids homes shape this job
East Grand Rapids homes around Gaslight Village were largely built in the early and mid 1900s, when kitchens had a single ceiling fixture and no task lighting at all. Adding under-cabinet and pendant lighting to those kitchens is one of the most common finishing jobs we do after a remodel, and we route the wiring to avoid opening original plaster.
How the job runs
How kitchen lighting goes in
Walk the kitchen
Where you work and what you want lit.
Plan the layout
Fixtures, drivers and switches.
Find the feed
Existing switched circuit or a new one.
Route and mount
Wiring hidden, fixtures installed.
Set the dimmers
LED-rated, tuned to dim smoothly.
Test and tidy
Every fixture checked, openings patched.
Straight answers
Questions about under-cabinet and kitchen lighting in Grand Rapids
Still unsure? Call (616) 699-4794 and ask a technician.
Usually, yes, by routing wiring through or behind the cabinets with small openings.
Strips for even light on the counter; pucks for accent and display.
Yes, with a compatible driver and an LED-rated dimmer.
Hidden inside or above a cabinet, where it stays accessible.
Usually, centered over the island and rated for the fixture weight.
Same category